.png?height=120&name=Rocketium%20Logo%20Dark%20(1).png)
Rocketium's design editor has a styling panel for editing basic visual properties. This article gives you an introduction to styling and an overview of all basic features. For a deep dive into element level styling properties, please refer:
- Text styling
- Media styling
- Shape styling
The styling panel offers you various styling options to create stellar creativity.
- The first styling option is to choose the element's position on the canvas; you can choose to form the four types of placing options.

- Bring to front: It will bring the element to the topmost layer. (overall elements)
- Bring Forward: With every click, this will bring the element one layer forward.
- Sent backward: It will send the element to the bottom layer
- Sent to back: With every click, it will send the element to one layer backward. (below all elements, but not below background color)
- The second styling option is to Align Object (the element) on the canvas. You can choose from the 6 (self-explanatory) alignment options.
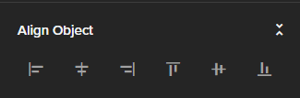
- Align Left - The text box is aligned perfectly with the left edge of the image.
- Align Horizontally center - The text box is positioned in the center of the image at its current vertical position within the image.
- Align Right - The text box is aligned perfectly with the right edge of the image.
- Align Top - The text box is aligned perfectly with the top edge of the image.
- Align Vertically center - The text box is positioned in the center of the image at its current horizontal position within the image
- Align Bottom - The text box is aligned perfectly with the bottom edge of the image
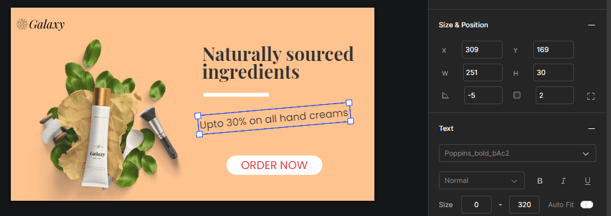
- The third styling option in the panel is to change the Size and Position.
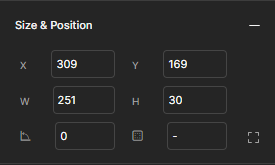
- Change the element's position by any input along two axes ( X and Y).
- Change the width and height of the element (W and H).
- With the last two boxes, you can rotate and add padding to the text element (along with making alignment changes to the padding) as seen.
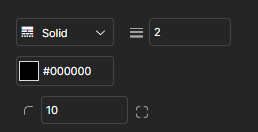
- To change the border, first put a non-zero value (natural number) in the 'width.' (The box with value '1')
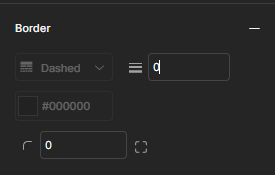
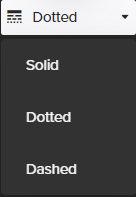
- After that, you can change the type of 'border' from the drop-down menu. For example, you can make the borders Solid, Dotted, Dashed (at present, it is set at 'Dotted').
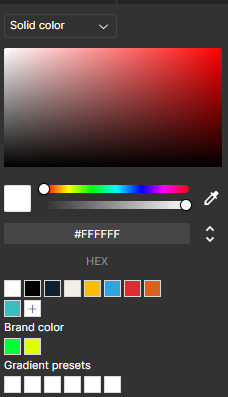
- You can change the color of the border too, again in the two ways;
- Hex Code
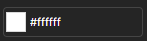
- Color palette
- You can change the roundness of the border by putting a numeral value in the last box.

- Hex Code
- After that, you can change the type of 'border' from the drop-down menu. For example, you can make the borders Solid, Dotted, Dashed (at present, it is set at 'Dotted').
- With Shadow, you can add a shadow effect to the shape and control other factors. (The shadow will be added in a solid form)
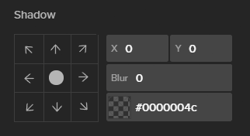
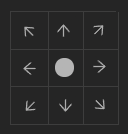
- From the box (on the left side), you can adjust the direction of the Shadow; there are nine directions to choose from.
Note: You can custom add the direction of the shadow by putting some numeral values in the x and y axes (coordinates) column.
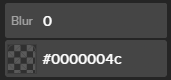
- The following options are to change the effect of the shadow. First, you can blur out the 'solid' shadow with a number value. Second, you can also change the color of the shadow.
- From the box (on the left side), you can adjust the direction of the Shadow; there are nine directions to choose from.
- At last, you have the Blending.
A Blending Mode is a powerful tool that instructs two layers on seamlessly merging and creating a captivating final product.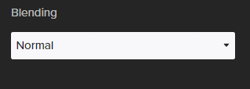
- With blending, you can adjust the element's look according to the overall style of your canvas (creative). There are five options that you can choose from to blend your element.
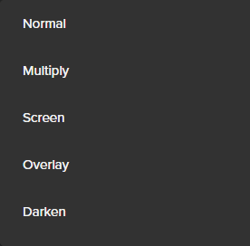
- Normal: By default, each layer’s blend mode is set to Normal, which means the layer will stay how it originally looked. You also need to have at least two layers before it’s possible to change the blend mode.
- Multiply: Multiply is a blending mode that enhances detail and contrast in faded areas or helps eliminate a white background.
- Screen: Screen blending mode enhances the brightness of light pixels, resulting in a lighter effect than the Lighten Blend Mode.
- Overlay: Overlay enhances contrast and definition, making mid-tones less visible. It adds depth and sharpness favoured by retouchers for high-quality sharpening.
- Darken: Darken blending mode makes the background invisible. It is the exact opposite of the Lighten blending mode.
- Lighten: The Lighten blending mode is ideal for removing a subject from a dark background or adding light effects. It makes dark areas invisible while keeping lighter areas visible, making it easy to lighten while adding new elements.
- Color-dodge: Color Dodge is a powerful tool to add captivating colors to highlight without affecting midtones and skintones. It enhances the overall appearance.
- Color Burn: Color Dodge enhancescolors, adding beautiful detail to shadows and creating captivating visual effects. It offers incredible flexibility to achieve the desired look.
- Difference:
The 'Difference blend mode' analyzes the colors from both layers and subtracts the color with the highest brightness value. White changes the base color's values, while black has no effect. When applied to a black-and-white gradient layer, the black areas represent the base layer, and the white regions invert the colors.
- Exclusion: The Exclusion blend mode inverts colors in white areas and leaves black areas unchanged, resulting in a softer effect than the Difference mode. Grey pixels with a 50% shade retain their original color.
- Hue: The Hue blend mode preserves the base layer's brightness and saturation while adopting the blend layer's hue. It is useful for altering the color of a layer without impacting its brightness and saturation, creating a different mood or adding a sepia tone.
- Saturation: The Saturation blending mode keeps the base layer’s luminosity and hue while using the blend layer’s saturation.
- Color: The Color Blending Mode preserves the brightness of the base layer while incorporating the saturation and hue of the blend layer. This blending mode enhances color effects and saturation, creating a vibrant and colorful.
- Luminosity: The Luminosity blend mode sharpens and enhances the appearance in editing. It preserves the original hue and saturation of the base layer while incorporating the blend layer's luminosity. This mode offers a different approach to adjusting colors without affecting brightness and saturation, contrasting with the Color blend mode.
- Hard-light:
The Hard Light blending mode combines the Multiply and Screen modes to determine light and dark areas based on the brightness of the blend layer. This blending mode often produces intense effects, which may require reducing the Opacity for optimal results.
- Soft-light: Soft Light is a versatile tool that enhances colors and allows for advanced retouching techniques like dodging and burning, adding depth and creativity to your projects.
- With blending, you can adjust the element's look according to the overall style of your canvas (creative). There are five options that you can choose from to blend your element.